A home CCTV or security camera system can help you monitor entrances, outdoor areas, and other important parts of your property. Before installing one, you need to consider the camera type, placement, storage, night vision, network connection, and how you plan to access recorded footage.
Choose Between Wired and Wireless Cameras
Start by deciding if you want a wired or wireless CCTV camera system.
A wireless camera system is usually easier to install because it does not require the same amount of cabling as a traditional wired system. However, it depends on your Wi-Fi network, which can become a problem if your home has poor connectivity or weak wireless coverage.
A wired system can provide a more consistent connection and may be preferable for larger properties or locations where Wi-Fi coverage is unreliable.
A standard home security camera system may consist of between two and four cameras, depending on the size and layout of the property. Cameras should generally be positioned to cover important areas such as the front door, compound gate, driveway, and other vulnerable access points.
Install Cameras at the Right Height
Mount outdoor cameras at a height that makes them difficult for would-be thieves to reach and disable.
A height of around two and a half meters can be suitable in many residential situations, although the correct position depends on the building, camera type, and area being monitored.
Do not point the camera straight ahead without considering the viewing angle. Pointing it slightly downward can provide a better view of the area immediately around the property and may make it easier to capture useful details when someone approaches.
Avoid placing cameras where walls, trees, roofs, bright lights, or other objects create blind spots.
Choose a Camera With Good Night Vision
Make sure to buy a camera that can see well at night if you do not have proper outdoor lighting.
Many outdoor security cameras have infrared sensors that allow them to capture images in low-light or dark conditions. Some newer cameras also use additional low-light technology or built-in lighting to improve nighttime footage.
Before purchasing a camera, check how it performs in darkness rather than relying only on a manufacturer’s daytime sample image.
Decide Where Your Footage Will Be Stored
Connect the camera system to a Network Video Recorder (NVR) or a compatible cloud storage service if continuous recording and remote monitoring are supported.
Always check the storage capacity and how many days of footage the system can retain before older recordings are deleted.
If you are using a camera with a built-in memory card, make sure the card has enough storage for your recording requirements. Continuous recording can use storage quickly, particularly when several high-resolution cameras are operating at the same time.
Test the Cameras Before Final Installation
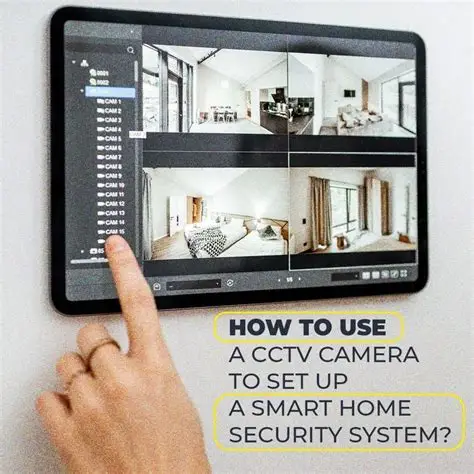
Finally, test the camera feed, including mobile access if the system supports it, before investing too much time in permanent installation.
Checking the live camera feed from your phone can make it much easier to identify blind spots, excessive glare, poor viewing angles, or areas that are not properly covered.
Taking the time to test the cameras before permanently fixing them can spare you the trouble and expense of calling a professional later to reposition a camera that was installed in the wrong location.